

For many years, our iOS apps have relied on TestFlight for beta testing.
Amongst many other capabilities, one of the most appealing features of TestFlight is that apps can be distributed to a targeted group of people without the risk of unreleased versions being installed by others.
When we started work on the macOS version of the Model 15 App, we realized that TestFlight was only available for iOS and that we couldn’t use it for beta testing macOS versions.
This article explains how we manually create macOS builds that can only be used by people that are part of our beta testing team.
Gather Provisioning UDIDs
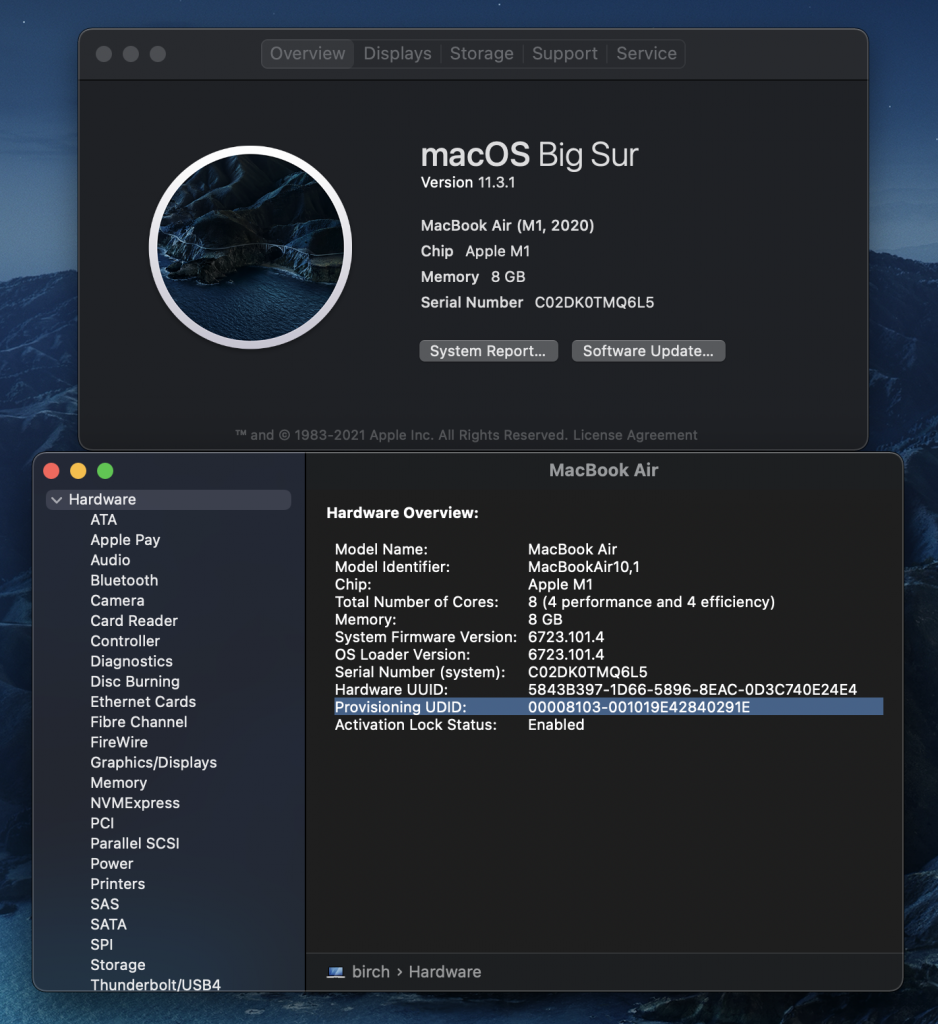
Every Big Sur macOS computer has a unique provisioning UDID that can be used for identification. This can be accessed through About This Mac in the Apple menu. Click on System Report… and the Hardware Overview will display the Provisioning UDID.
Request the provisioning UDID for each computer that will participate in your beta testing program.
Manage Devices on Apple Developer Site
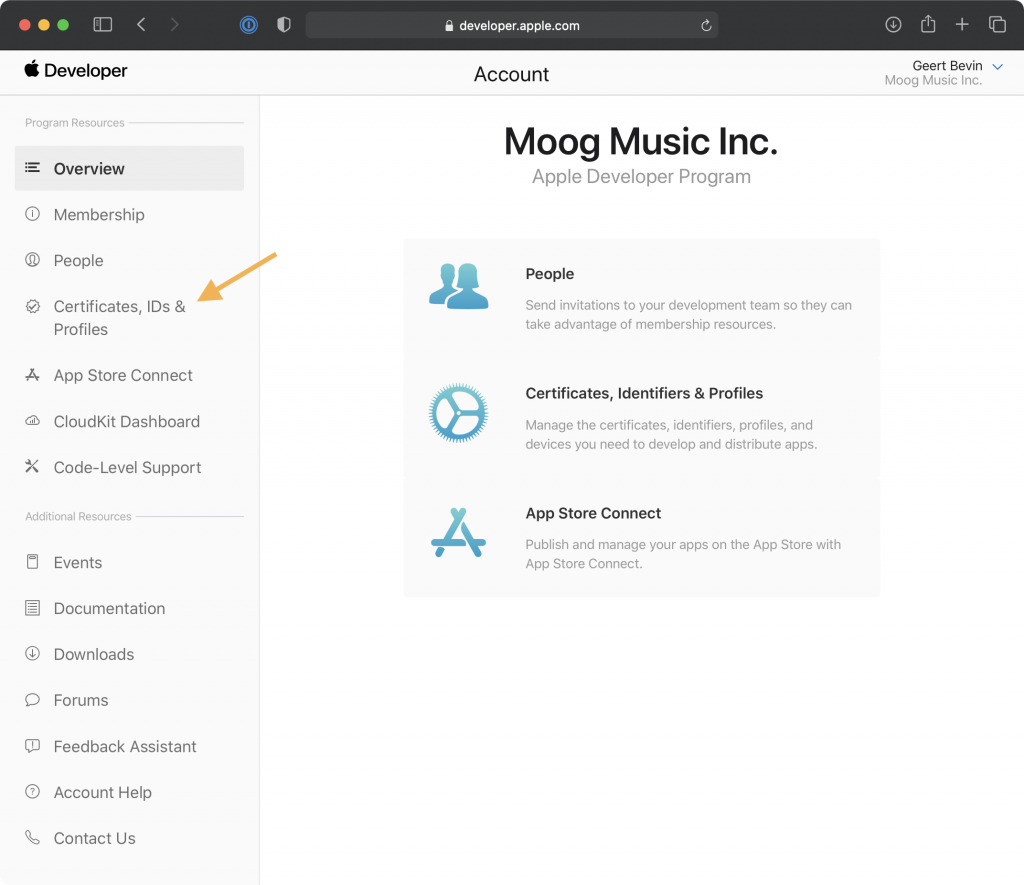
Once you have the list of provisioning UDIDs of the devices you want your macOS app to work on, head over to your Apple Developer account and go to the Certificates, IDs & Profiles section.
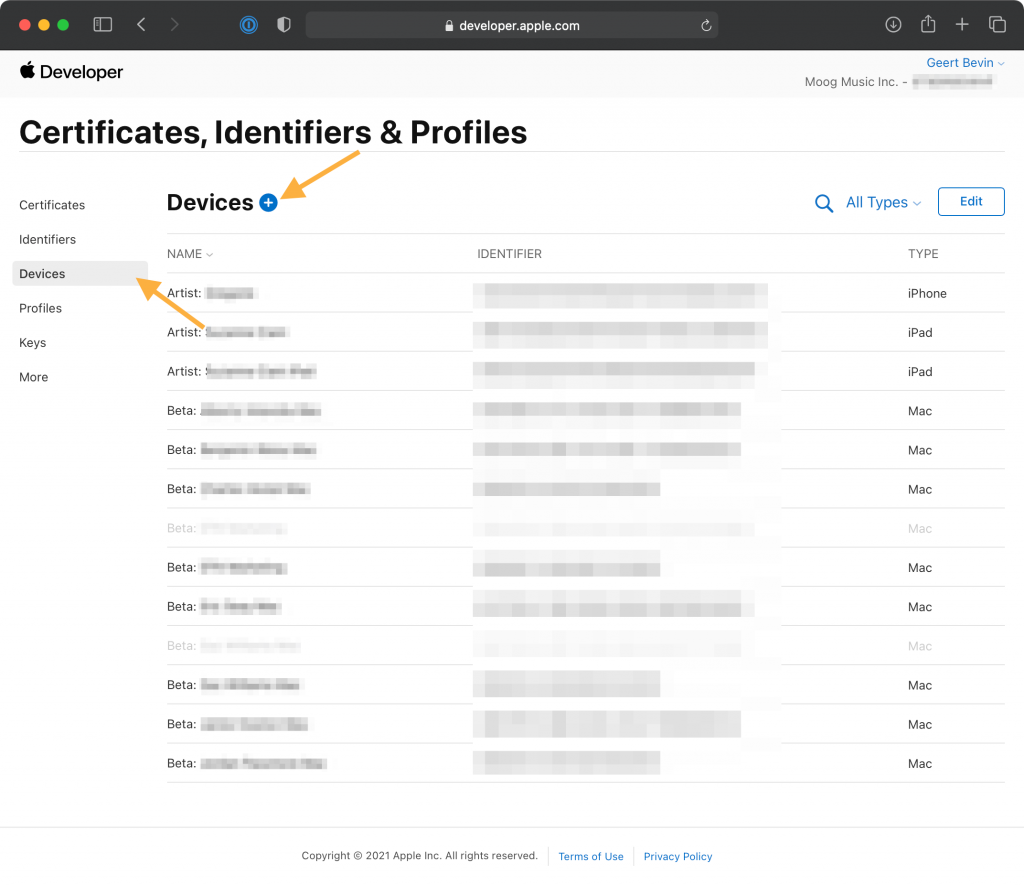
After going to the Devices section, you can add new ones by clicking on the + button.
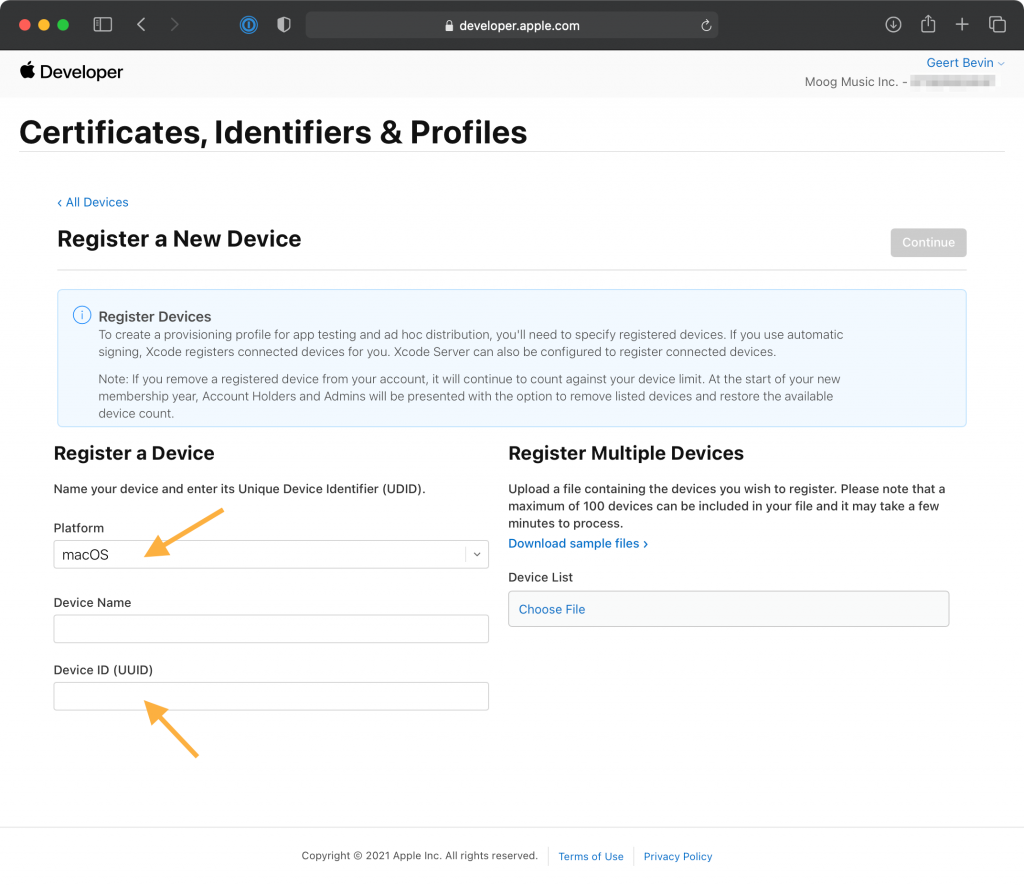
When registering a New Device, make sure to select macOS as the platform, give the device a name (for instance the name of your beta tester), and put the Provisioning UDID in the Device ID field.
Generate Application Distribution
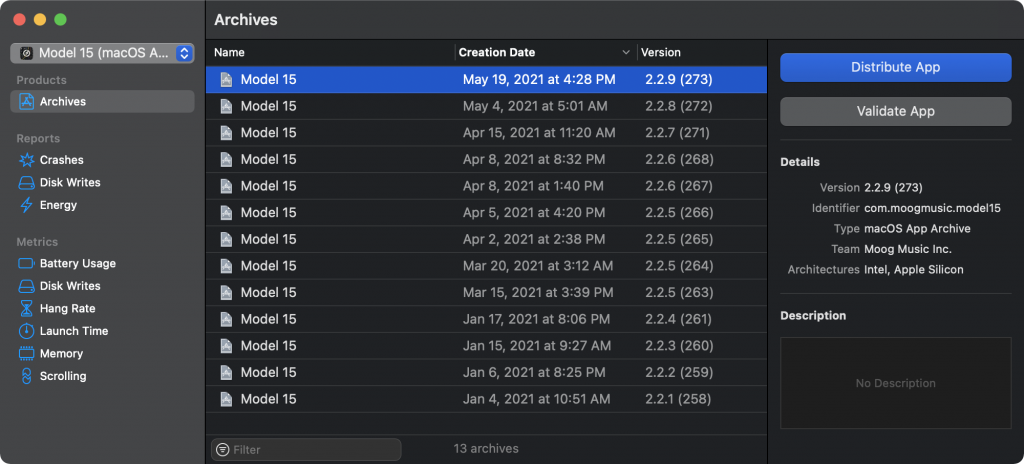
When you want to distribution a version of your application, generate a Product Archive in Xcode. As usual, this will appear in the Organizer window. From there you can distribute your App in various ways.
Since we’re using Mac Catalyst with App Groups and Inter-App Audio being part of the iOS provisioning profiles, we couldn’t use the Developer ID distribution method. This is the preferred way, because it fully notarizes the app, making it open after installation without macOS Gatekeeper alerting the user.
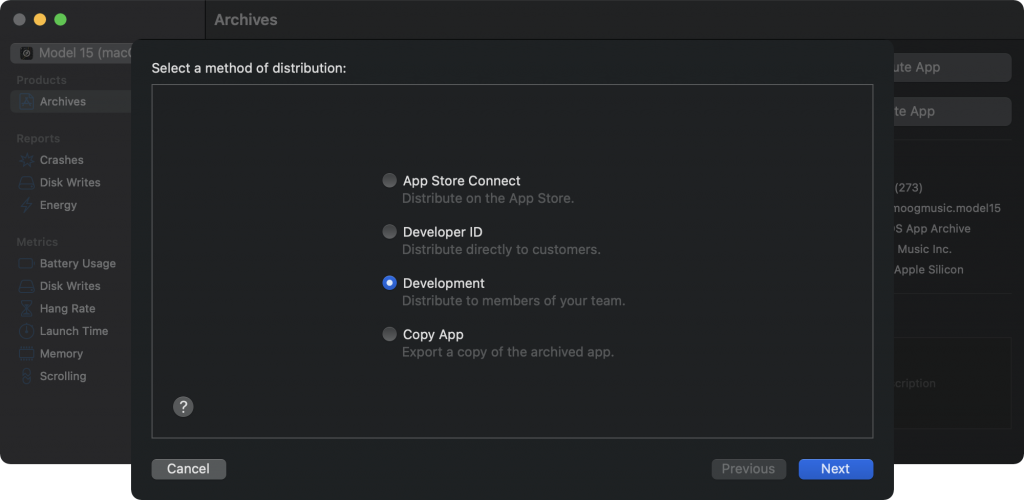
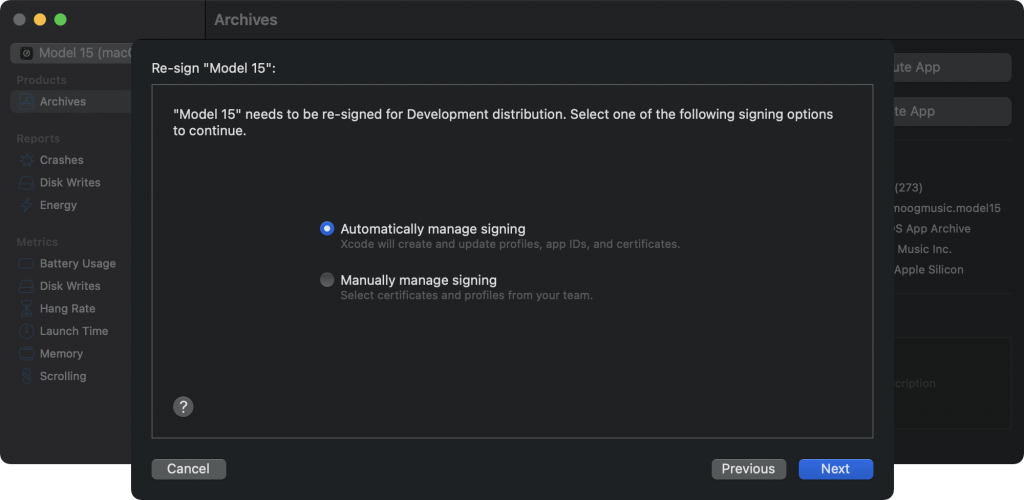
Instead we used the Development distribution method. While Notarization doesn’t happen, Xcode does handle automatic signing of your application. This is the part that communicates with your Apple Developer Account and bakes the authorized Provisioning UDIDs into the application archive before signing. Any device UDID that isn’t baked into the application archive, will be unable to open the app.
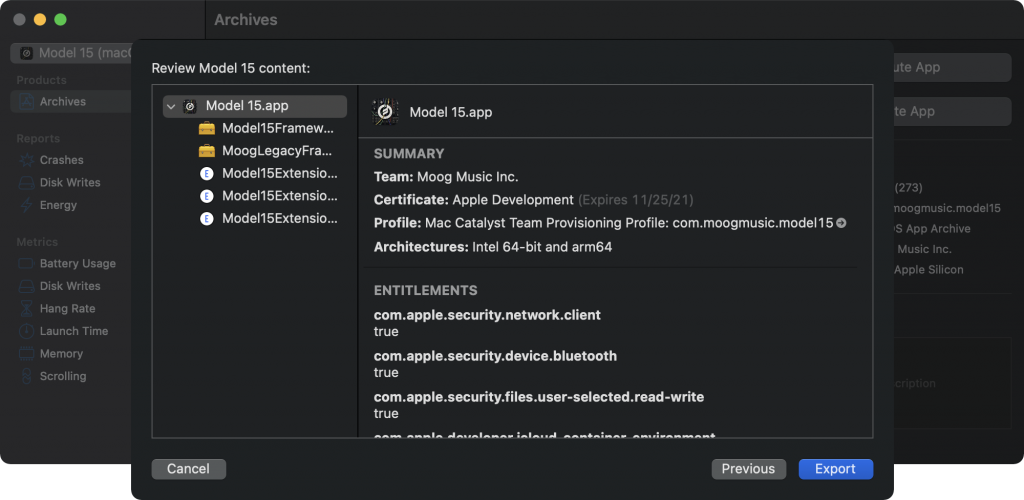
After the final Export step, you can select a location where the Xcode stores your distribution artifacts. The .plist and .log files are informational, but your application archive is the final one that you can distribute.
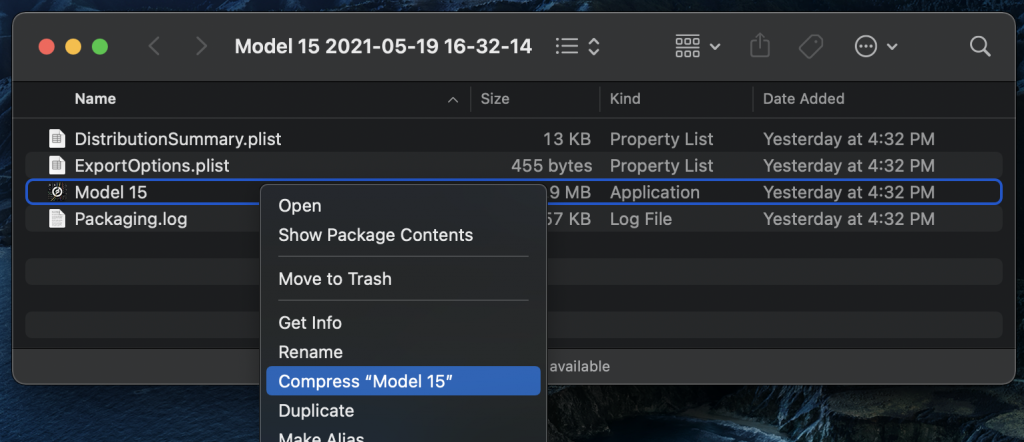
We just right-click and select Compress from the popup menu, generating a zip archive. This zip file is then uploaded to a file sharing service and we send the link to all beta testers.
Wrapping up
That’s it, all done!
Every time a new beta tester joins your team, you can add the relevant Provisioning UDIDs to your Apple Developer account. You don’t have to re-archive your application builds, you can repeat the Development distribution method and it will use your latest collection of devices.