Since Apple released Metal in 2014, it has become the leading graphics API (application programming interface) for iOS and macOS. During that time, Moog has used Metal in Model 15, Model D, and, most recently, Animoog Z.
Moog uses rendering APIs like Metal to make full use of a device’s GPU. For many programmers, the GPU, rendering pipelines, and shaders can often be a black box. Through this and future posts, we hope to give a glimpse into what is possible.
Why Metal?
Traditional programming runs on a CPU with one main process that runs a set of instructions in order (in series). Additional CPU processes (threads) may be created from this main process to spread the work between different cores, but the number of threads is usually low. CPUs are best at running through a variety of instructions, in order, as quickly as possible.
GPUs, on the other hand, have thousands of cores and work best when running very small pieces of code at the same time (in parallel). This type of processing is perfect for rendering graphics, running neural networks, and computing complex parallel computations.
As a very simplistic example, imagine you had a giant spreadsheet and you needed to copy it to another spreadsheet by hand. A CPU is like a few people going cell by cell, copying over the data one at a time. A GPU is like having a thousand people each copy over one cell, all at once.
Metal uses the CPU to tell the GPU how and what to compute in parallel so that graphics or data can be generated.
Rendering in Metal
Metal provides a variety of ways to compute and render on the GPU. The following are the most important components for rendering in Metal.
- Command Encoder: Writes commands to the GPU
- Render Pipeline: Contains how the shaders and buffers should be used
- Buffers: Contains the data passed to the GPU for use in the shaders
- Shaders: Short algorithms that compute information on the GPU using the data in the buffers. In rendering graphics, shaders are often divided between Vertex Shaders and Fragment Shaders.
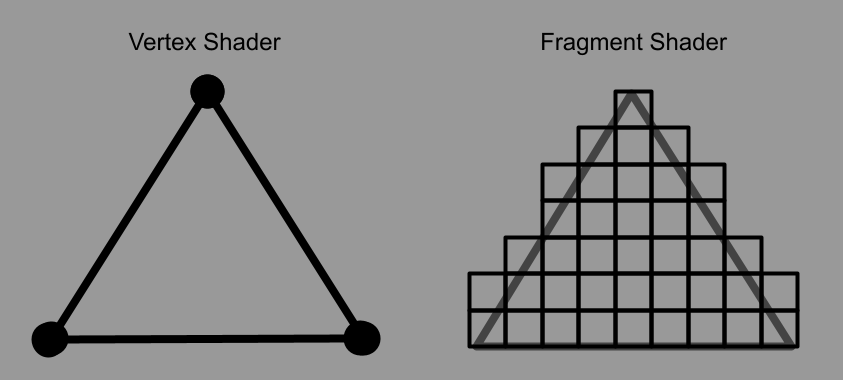
Vertex Shaders
Vertex shaders compute the location of points (vertices) on the screen so that they can be used to represent a 2D or 3D space. For a 2D image, this may consist of 4 vertices that make up the four corners of the image location. For 3D, each vertex in a 3D scene needs to be put through a projection matrix to compute where the 3D position would be located on the 2D screen and how it interacts with the other vertices in front and behind it.
Fragment Shaders
After the vertices have been calculated, a fragment shader is run (in parallel) for each of the points inside triangles defined by these vertices. In many cases, each of these points is a pixel on the screen, so some fragment shaders are also called pixel shaders.
Inside of a fragment shader, it is decided what color should be returned for each fragment based on the location of this point relative to the previously computed vertices. In the case of a texture image, this may be a pixel color from a texture. Fragment shaders can also be more complex and do additional computation to determine what color should be at each point.
The color of each point is returned in parallel until all fragments are complete.
Once the shaders are complete, the points can be rendered to the screen for view.
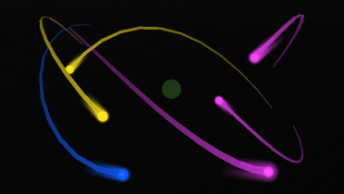
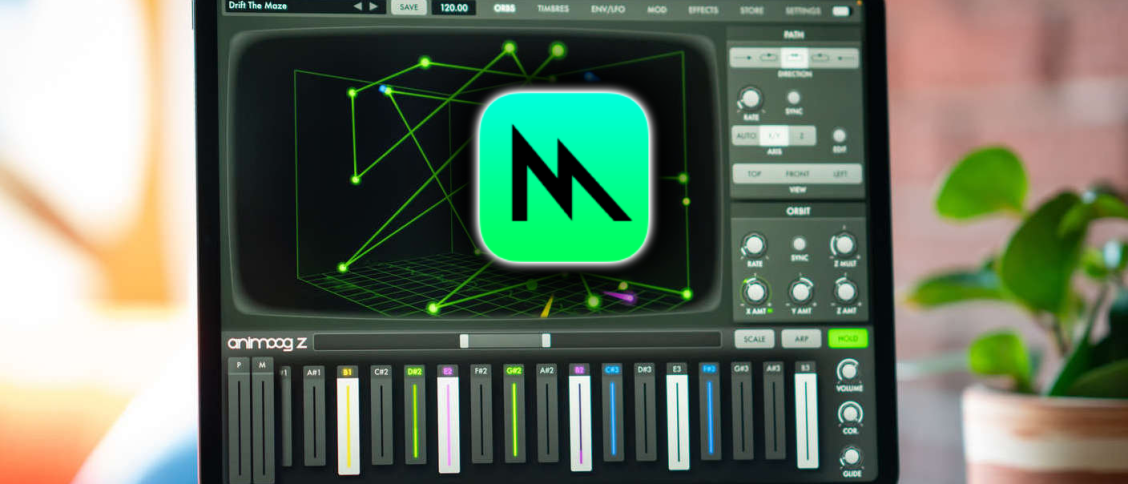
On Model 15 and Model D, it renders a recreation of our hardware synths. In Animoog Z, it renders an animated grid with comets flying in 3d space.
Conclusion
This is just a very brief intro into one side of Metal. There will be follow up posts that dive into more specific aspects of Metal and how Moog uses Metal to make our synthesizer apps possible.